Table of Contents
ToggleTiny heirloom homes blend the best of both worlds: the charm, craftsmanship, and timeless design details of historic architecture squeezed into footprints that feel right at home in today’s economy. These aren’t bland box homes, they’re thoughtfully designed spaces that honor vintage aesthetics while solving modern problems like affordability, sustainability, and efficient use of square footage. Whether you’re renovating an existing cottage or building one from scratch, understanding how to preserve heirloom character in a tiny footprint makes the difference between a cramped space and a home that feels inviting and intentional. This guide walks through what makes these homes special, how to restore original details, and how to maximize every inch without sacrificing soul.
Key Takeaways
- Tiny heirloom homes combine historic craftsmanship with compact footprints under 400 square feet, solving modern affordability and sustainability challenges without sacrificing warmth or character.
- Heirloom design elements like crown molding, wainscoting, and tall ceilings create visual interest and airiness in tiny spaces while drawing the eye and preventing a cramped feeling.
- Original hardwood floors, plaster walls, and period-appropriate windows can often be preserved or restored affordably, with practical techniques like flexible joint compound for plaster cracks and rope caulk for drafty windows.
- Strategic built-in storage using reclaimed wood, vertical shelving, and fabric-covered bins maintains the aesthetic appeal of tiny heirloom homes while keeping clutter hidden and spaces functional.
- Authentic vintage pieces sourced from second-hand markets, paired with historically accurate paint colors and vintage-style lighting, create character-rich decor on a budget without requiring designer investment.
What Are Tiny Heirloom Homes?
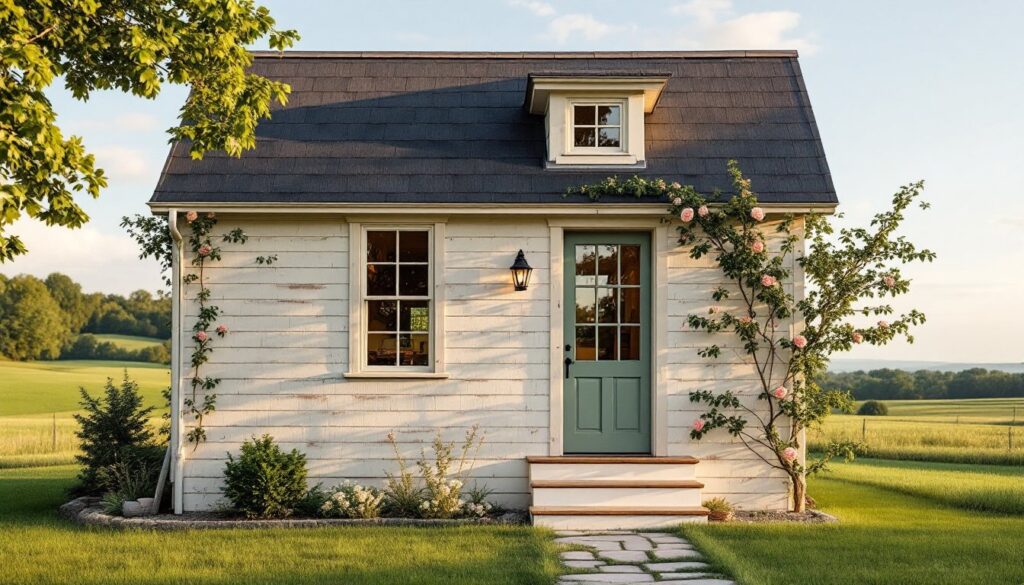
Tiny heirloom homes are compact dwellings, typically under 400 square feet, that borrow design language and materials from early American homes, farmhouses, and historical cottages. They’re built or restored to capture the essence of vintage construction: real hardwood floors, plaster walls, exposed ceiling joists, shiplap, and period-appropriate windows. The term “heirloom” emphasizes longevity and character: these aren’t throwaway structures but homes designed to last and age beautifully.
A true tiny heirloom home respects proportions and detailing you’d find in 19th-century rural dwellings, think steep roof pitches to shed rain, deep overhangs for weather protection, and smart use of vertical space. Modern manufacturing companies like Tiny Heirloom Homes have commercialized this style, producing certified trailers and foundation-built units that authentically replicate vintage craftsmanship at compact scale. The movement appeals to buyers seeking tiny home design that doesn’t compromise on warmth or personality.
Why Heirloom-Inspired Design Matters for Tiny Spaces
Compact homes risk feeling cold or cramped without intentional design. Heirloom aesthetics solve this by incorporating human-scaled details, crown molding, wainscoting, window trim, built-in shelving, that draw the eye and break up walls. These elements add visual interest and craftsmanship that can’t be rushed or faked with paint alone.
Heirloom homes also tend to use natural materials that age gracefully: reclaimed wood, stone, plaster, and metal hardware. These materials develop patina and character over time rather than looking dated. A tiny home with deliberate historical references feels collected and intentional: it’s a space someone chose carefully, not one they settled for due to budget.
From a practical standpoint, old-house design principles often outperform modern minimalism in small spaces. Tall ceilings (8.5–9 feet instead of 8 feet) create airiness: deep closets and discrete storage built into wall cavities hide clutter: window placement and operable windows (not just HVAC) improve comfort and reduce energy waste.
Historic Design Elements Worth Keeping
If you’re working with an existing older home, preserving original elements adds irreplaceable value and authenticity. Hardwood flooring, even if buried under carpet, can often be salvaged and refinished. Plaster walls breathe better than drywall and, even though their reputation for fragility, can be patched or left as-is if cracks are sealed and stabilized. Original window sashes (even single-pane) perform reasonably well if properly maintained and weatherstripped: replacing them loses the visual weight and character of the original frames.
Smaller, harder-to-replace details matter too: picture rails (horizontal trim near the ceiling), wainscoting (waist-high wall paneling), built-in bookcases, and hardware (door hinges, cabinet knobs, light fixtures). Before gutting, document what’s there with photos. Local historical societies, antique dealers, and This Old House restoration guides can help identify original periods and materials. Some elements are worth the cost of professional restoration: others can be replicated affordably with modern materials that mimic the look.
DIY Restoration Tips for Vintage Details
Restoring heirloom character requires patience and sometimes selective authenticity. Not every original element needs preservation if doing so makes the space unlivable, but prioritize what defines the home’s era.
Plaster Repair: Hairline cracks in plaster are cosmetic: larger cracks may signal settling. Use flexible joint compound (DAP Fast ‘N Final or USG Sheetrock Brand) for cracks up to 1/4 inch wide. For deeper cracks, clean out loose material with a putty knife, dampen the cavity, apply a backer rod if needed, then fill flush with the wall. Sand smooth after drying (typically 2–4 hours) and prime before painting. Avoid heavy-duty patching on load-bearing cracks, those signal structural issues and need professional inspection.
Refinishing Hardwood: Sanding and refinishing hardwood is DIY-friendly if you rent a drum sander (typically $40–60 per day). Start with 60-grit paper on unfinished or heavily stained floors, progress to 100-grit, then 150-grit for final prep. Wear a dust mask (N95 or better) and hearing protection, sanders are loud. After sanding, vacuum thoroughly and tack with a damp cloth. Apply stain if desired (test a closet first), then two coats of polyurethane finish with light sanding between coats. Water-based poly dries in 2–4 hours and doesn’t yellow: oil-based amber finishes emphasize wood grain but take longer to cure (24 hours between coats). Budget $300–500 for materials and tools for a small room.
Trim and Molding: Painting or staining existing trim is one of the highest-impact, lowest-cost upgrades. Use primer (Kilz or Benjamin Moore for high-tannin woods like oak) before finishing paint. Glossier finishes (semi-gloss or high-gloss) age the trim authentically and hide dust better than satin in high-traffic areas. A single room’s trim (door frames, baseboards, window casings) takes 2–3 days start to finish when done carefully.
Window Restoration: If original windows are stuck, try running a utility knife along the paint seal to loosen them, then tap a block of wood gently with a mallet. Apply penetrating oil (like 3-in-1 or WD-40) and wait a few hours. For drafty windows, apply rope caulk (removable, putty-like weatherstripping) or rigid weatherstripping tape in winter. Full restoration (reglazing single-pane windows with new glazing compound) is labor-intensive but preserves character. Modern alternatives like interior storm windows or upgraded sashes with exterior trim that matches the original profile preserve appearance without losing functionality.
Space-Saving Storage Solutions with Classic Style
Tiny homes demand ruthless storage efficiency without sacrificing heirloom aesthetics. Closed storage (not open shelving) keeps clutter hidden and maintains visual calm, essential when you’re looking at every angle of a 300-square-foot main living area.
Built-in Storage: If you’re handy with carpentry, building custom shelving or cabinetry is the best ROI for a tiny home. Frame shelves between studs (usually 16 inches on center) and finish with reclaimed wood or plywood faced with trim. Add baskets, vintage trunks, or boxes under window seats for out-of-sight storage. Use dado joinery (a groove cut into one board to accept the edge of another) for heirloom-quality shelving, though a simple butt joint with pocket hole screws is faster and nearly invisible behind trim.
Kitchen Efficiency: Maximize height with floor-to-ceiling cabinets and use the space above doorways. Install a butler’s pantry (a narrow wall cabinet between kitchen and living area) with glass doors to display vintage dishware while storing staples. Open shelves can work here because dishware is functional decor. Pull-out spice racks and nested bowls reduce footprint. Vintage-style hardware (cup pulls, bin handles) upgrades IKEA cabinetry instantly.
Bedroom and Living: Under-bed storage (rolling bins or vacuum-sealed bags) doubles as mattress support if you choose a platform style. Wall-mounted shelving above a writing desk or bedside uses vertical space without furniture legs. Armoires (even shallow modern ones with vintage-style doors) can replace a dresser and provide twice the storage in the same floor space. A blanket chest or steamer trunk serves as both storage and seating, a key strategy in tiny home backyard and interior spaces.
Labels and Texture: Vintage-style label makers (like Dymo embossers or hand-written tags) make storage containers both functional and charming. Canvas bins, wicker baskets, and wooden crates cost $10–30 and age beautifully. Fabric storage masks clutter better than clear plastic: washed linen or cotton canvas fits the heirloom aesthetic.
Decorating Small Heirloom Spaces on a Budget
You don’t need a designer budget to decorate a tiny heirloom home authentically. Start with a restraint mindset: fewer, better pieces beat an overstuffed room every time.
Vintage and Thrifted Finds: Second-hand shops, estate sales, and online marketplaces (Facebook Marketplace, Craigslist, eBay) are goldmines for authentic pieces. A genuine cast-iron stove, reclaimed wood table, or vintage rug adds character that new furniture can’t fake, and typically costs $50–300 versus $500+ for reproduction pieces. Look for solid wood, real fabrics, and hardware that works. Avoid anything with broken joints or severe water damage: repairs cost more than the piece’s worth.
Paint and Wallpaper: A single accent wall in a historically appropriate color can anchor the whole space. Olive greens, sage, soft grays, and creamy whites suit early-American cottages: richer jewel tones work for Victorian-era homes. Many paint brands (Sherwin-Williams, Benjamin Moore, Farrow & Ball) offer historic color palettes researched for period accuracy. Wallpaper in a single room, or even a large nook, adds drama without overwhelming tiny spaces. Vintage-reproduction patterns (florals, damasks, geometric prints) run $15–50 per roll: higher-quality specialty papers cost more but justify it with durability and depth.
Lighting: Correct lighting transforms mood and perceived space. Avoid ceiling-mounted fixtures in favor of table lamps, wall sconces, and pendant lights hung at human scale. Edison-style bulbs, milk glass shades, and industrial metalwork replicate early 20th-century aesthetics while using modern LED technology (much cooler and cheaper to operate). A single statement pendant over a kitchen counter or dining table costs $30–150 and becomes a focal point.
Textiles: Quilts, linen curtains, wool rugs, and vintage kitchen towels cost little but define character. Launder carefully to preserve. Heavy linen or cotton curtains (not sheer) block heat loss in winter and glare in summer while looking authentically period. Layer textures, a worn rug over wide plank floors, linen throw pillows on a wood settle, woven baskets on open shelving, to prevent a sterile look.
Functional Decor: Choose items that work. A vintage apothecary cabinet stores medicines and supplies: vintage scales display cookbook collections: antique mason jars hold dried goods. This approach serves heirloom design while keeping the space uncluttered. Regional design traditions, Southern Living porch styles, New England farmhouse details, offer inspiration without feeling copied if filtered through your own taste.
Conclusion
Tiny heirloom homes prove that square footage and character are independent. By respecting materials, proportions, and design details rooted in good building, and by treating every storage nook and corner with intention, you create a space that’s both livable and beautiful. Start with one or two restoration projects, source vintage pieces selectively, and let the home’s history guide your choices. The result isn’t a museum: it’s a genuinely livable home that grows richer with time and use.